


Understanding the 10×10 Trade Show Booth:
Standard Dimensions & Layouts:
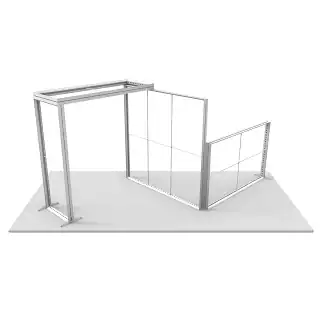
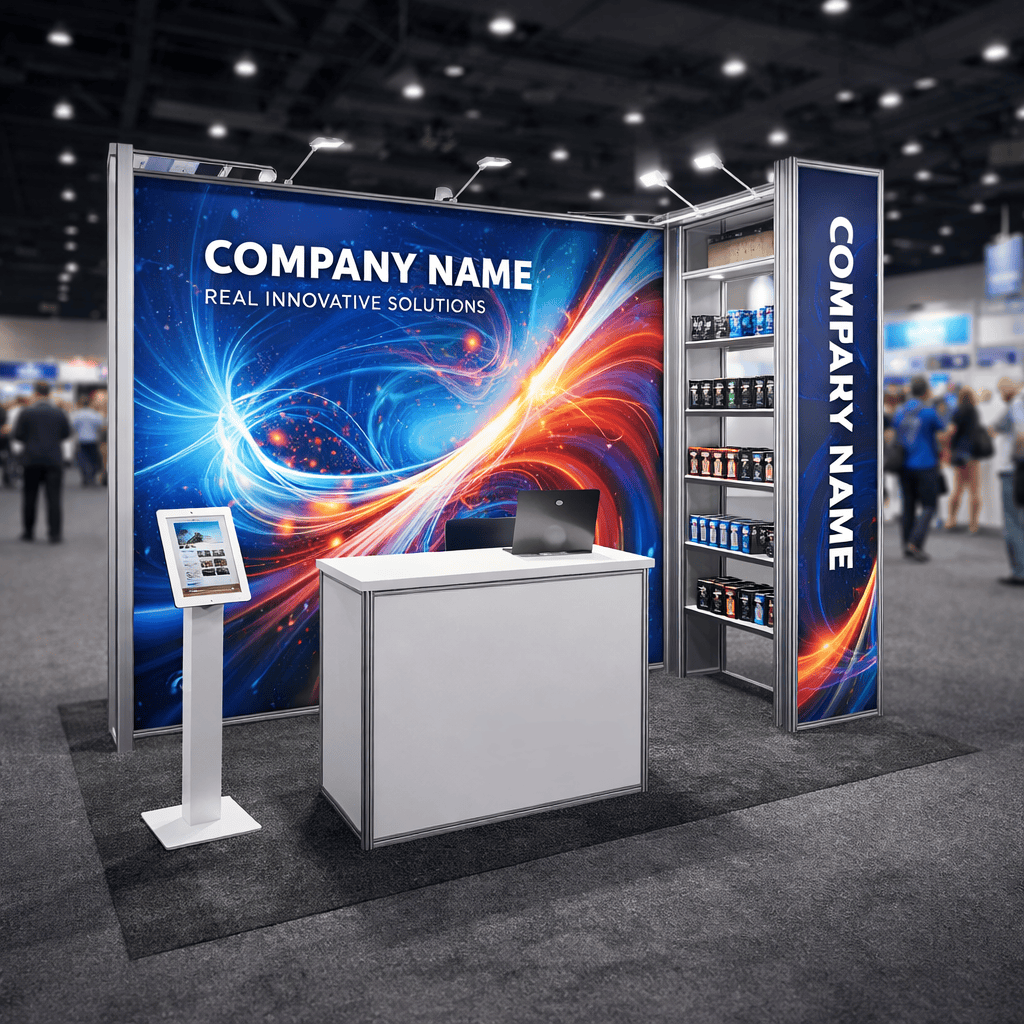
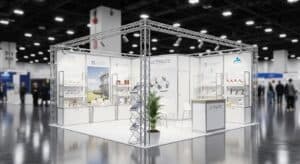
The standard 10×10 inline booth layout typically consists of a 10-foot wide backwall and a depth of 10 feet. Usually, these booths are flanked by neighbors on both sides, meaning the “front” of your space is your primary stage. Designers often recommend a “U-shape” or “L-shape” configuration to define the boundaries without creating a physical barrier that discourages entry.
Pros & Cons of 10×10 Booths:
The primary advantage of this size is that it is incredibly compact and cost-effective, allowing for a lower barrier to entry and reduced drayage costs. However, space limitations are a constant challenge. You must be ruthless in your editing—too many pieces of furniture or cluttered graphics can make the space feel cramped and uninviting to passersby.
Layout & Traffic Flow Optimization:
Entrance & Focal Points:
In a limited space, the first three feet of your booth are the most valuable. This is your “entrance zone.” The best placement for visitor flow is to keep the front of the booth open and unobstructed. Your primary focal point—usually a high-definition graphic or a central product—should be placed on the backwall at eye level. This draws people in from the aisle, creating a natural path for them to step inside and engage.
Interior Space Utilization:
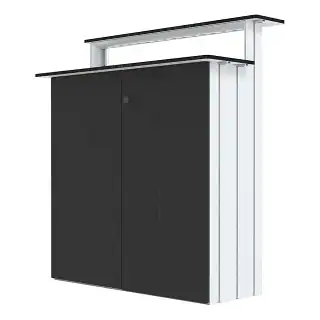
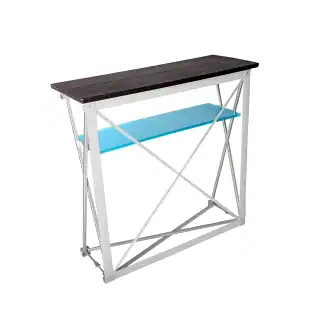
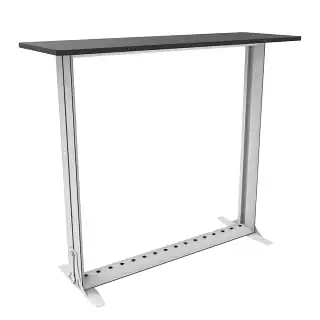
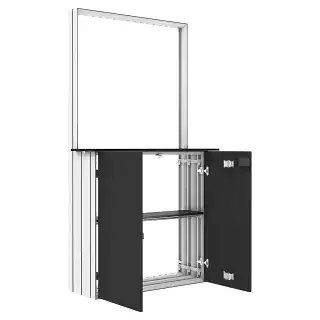
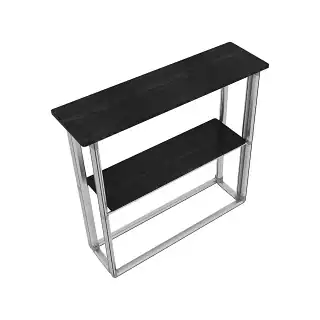
To make the most of every inch, consider multi-functional furniture. A reception counter should not just be a desk; it should be a lead-capture station and a storage unit for brochures. Use branding walls to create “zones”—a demo zone on one side and a networking area on the other. By pushing large elements to the perimeter, you maintain an open floor plan that feels larger than it actually is.
Creative Display Solutions:
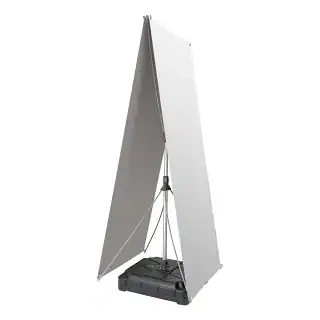
Vertical Branding Options:
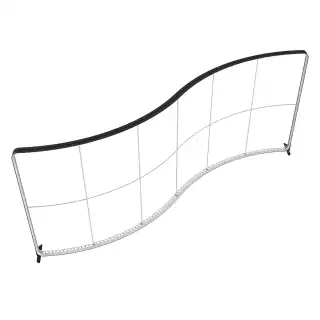
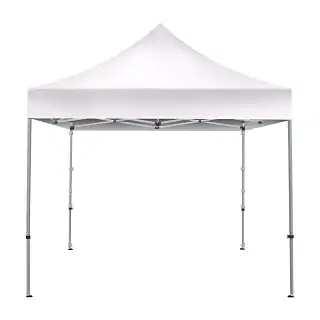
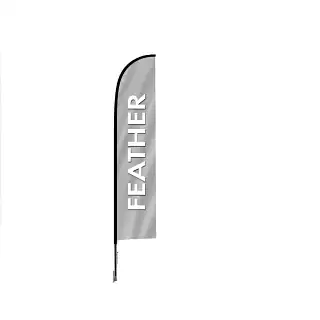
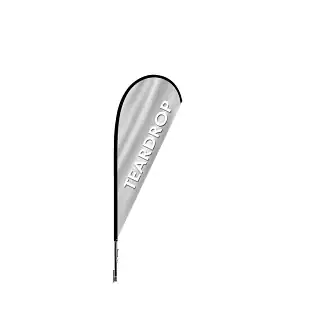
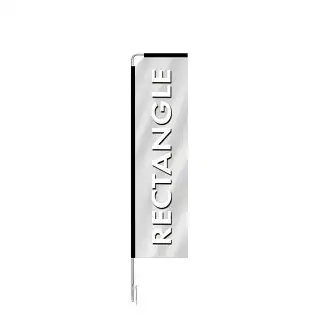
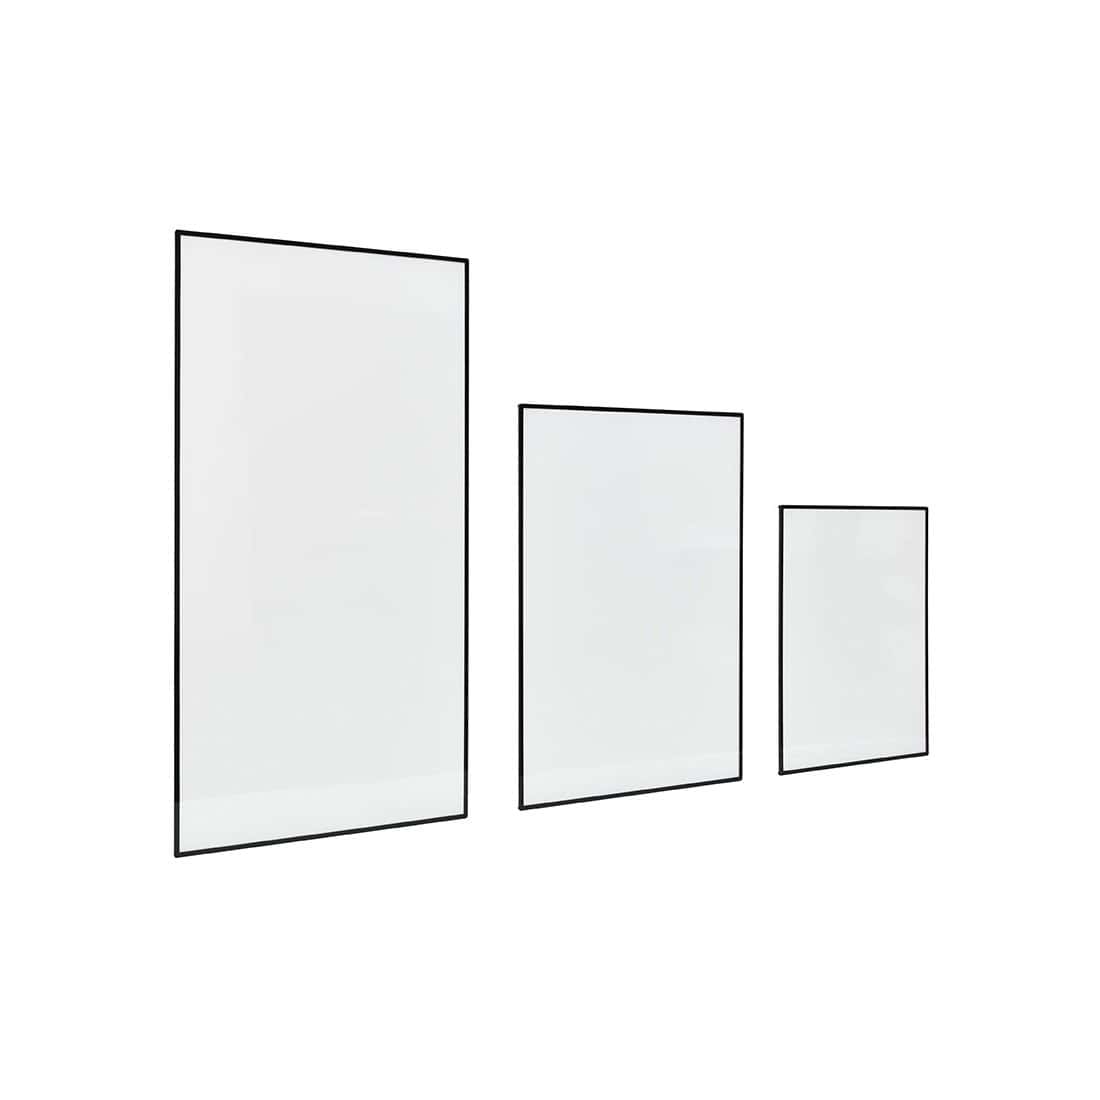
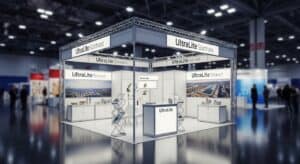
When you cannot expand horizontally, look up. Tall graphics that reach the maximum allowable height (usually 8 feet for inline booths) ensure you are visible from a distance. While hanging banners are sometimes restricted for a 10×10 trade show booth, utilizing tall, backlit towers or “bridge” headers can provide that vertical authority that catches the eye of attendees walking the far end of the hall.
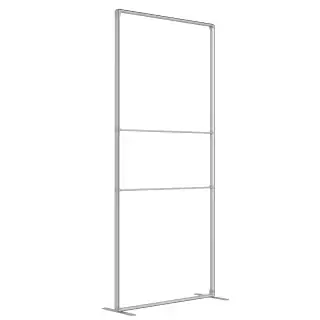
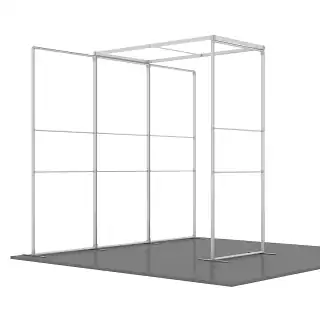
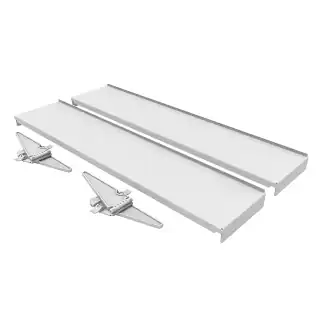
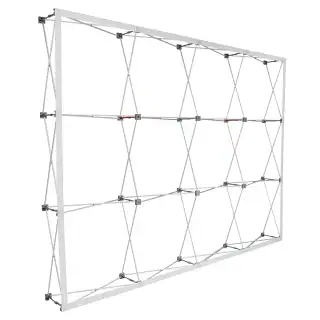
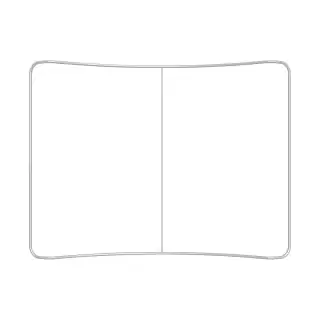
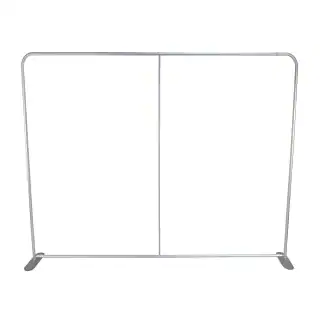
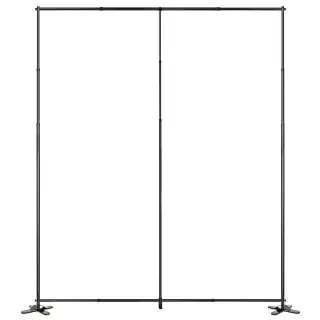
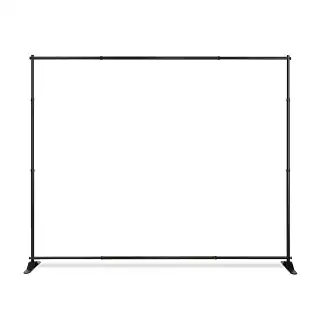
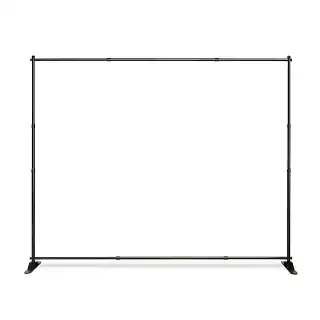
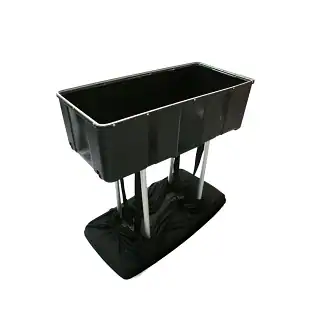
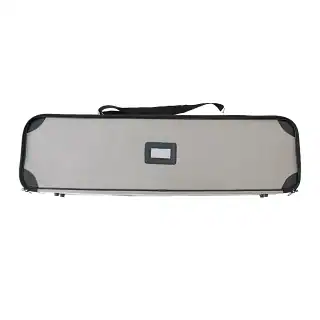
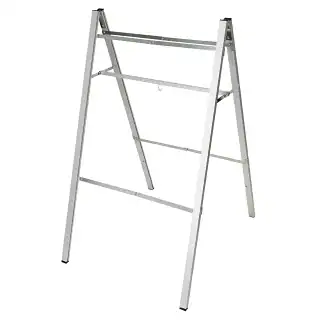
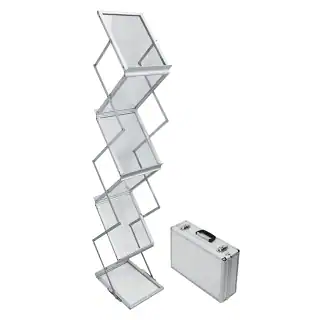
Modular & Portable Displays:
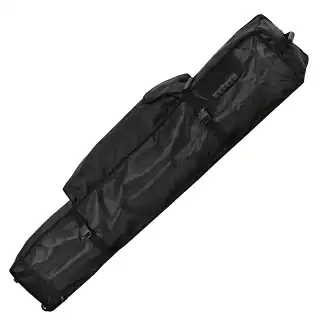
Flexibility is key for the modern exhibitor. Modular displays allow you to swap out panels or reconfigure your layout based on the specific show. Portable options like tension fabric displays are favored for their easy setup and teardown, often fitting into a single wheeled case that can be transported by one person.
Portable and Modular Booth Options:
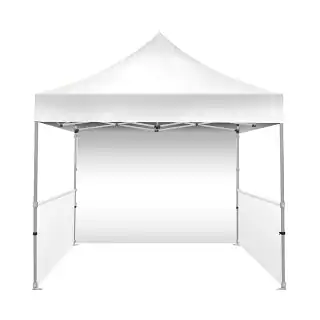
Pop-Up Kits:
Pop-up kits are the ultimate “quick setup” solution for small events. These systems feature an accordion-style frame that expands in seconds. When paired with high-quality fabric graphics, they provide a professional backdrop that hides the “pipe and drape” provided by the show organizers, giving your space a custom, high-end feel.
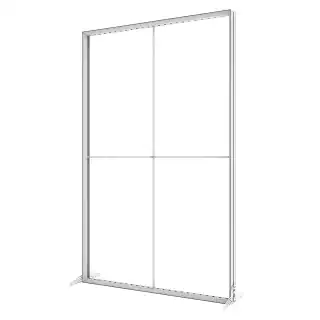
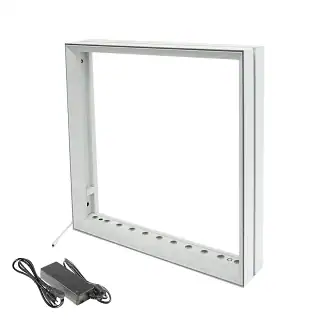
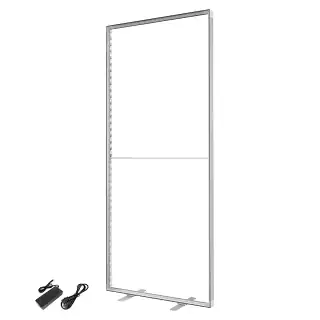
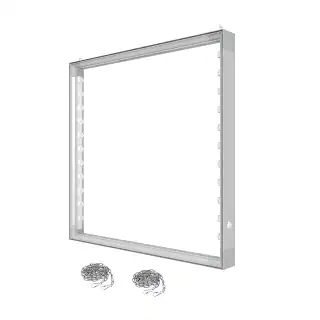
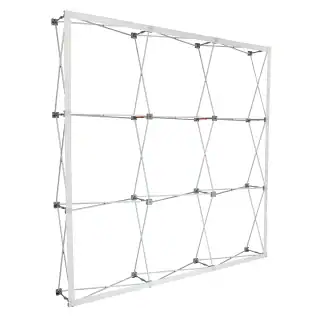
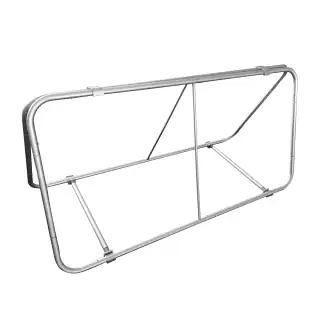
Modular Walls & Frames:
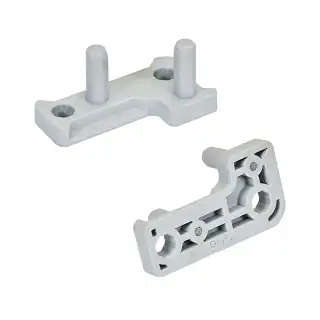
For those who exhibit frequently, modular walls and aluminum frames offer a more architectural look. These systems are incredibly flexible, allowing you to add shelving, monitor mounts, or even internal storage closets. This versatility ensures that your investment can adapt to different show regulations and marketing needs over several years.
Maximizing Branding in Small Spaces:
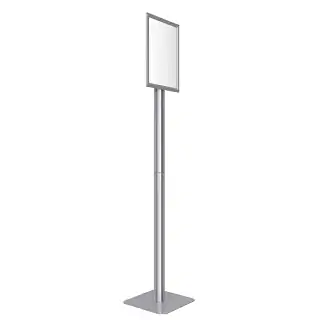
Color, Signage & Lighting:
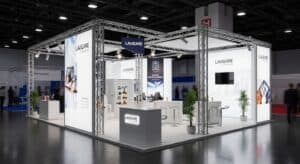
In a sea of booths, lighting is your best friend. Backlit displays make colors pop and ensure your signage is legible in the often-dim environment of a convention center. Use bold, high-contrast colors to define your space, and keep your messaging simple—one main headline and one clear call to action are more effective than a wall of text.
Interactive Engagement Zones:
Just because your booth is small doesn’t mean it can’t be interactive. Create mini “engagement zones” using tablet stands for digital catalogs or small demo tables for hands-on product testing. These touchpoints provide a reason for visitors to stop and dwell, giving your staff the perfect opportunity to initiate a conversation and qualify the lead.
Budget Planning for 10×10 Booths:
Cost-Benefit Analysis:
Budgeting for a smaller booth allows you to focus your funds on quality over quantity. A high-impact, low-cost solution involves investing in one premium backlit backwall rather than several cheaper, non-illuminated banners. This “anchor” piece provides the professional polish needed to compete with larger island exhibits.
Prioritizing Essential Elements:
When funds are tight, prioritize branding and engagement. Spend your budget on vibrant graphics and at least one interactive element. You can save money by choosing lightweight materials that reduce shipping fees, but never compromise on the quality of your print or the brightness of your lighting.
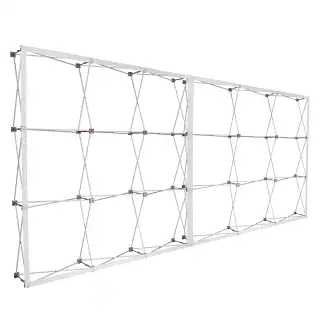
Scaling Up from a 10×10 Booth:
When to Upgrade:
There comes a point when your success outgrows your square footage. If your booth is consistently overcrowded or you have too many products to showcase effectively, it’s time to expand to a 10×20 or a larger island booth. An upgrade is usually justified when your lead volume consistently exceeds your staff’s ability to handle them within the small footprint.
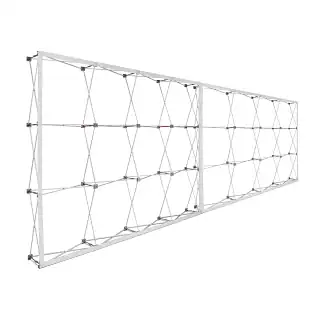
Future-Proofing Booth Investments:
The smartest way to scale is to invest in modular and reusable designs from the start. Many 10×10 trade show booth systems are designed to be part of a larger whole. By purchasing a modular frame system now, you can simply buy additional panels and connectors later to expand your booth, ensuring that your initial investment continues to provide value as your brand presence grows.


 5101 Commerce Dr., Baldwin Park, CA 91706
 ExhibitorLive 2026 , Mar 30-April 1, Tampa , FL , Booth #237