

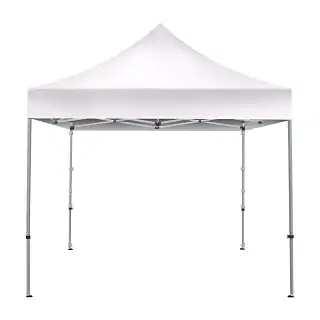


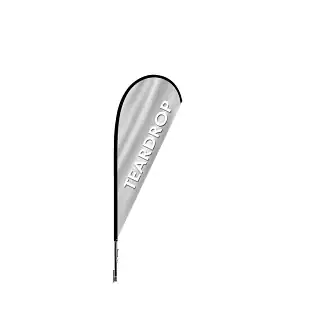
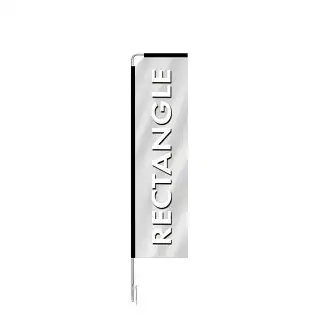

Efficient 10×10 Booth Display Setup:
Mastering the 10×10 booth display setup is an essential skill for any exhibitor looking to make a massive impact within a standard footprint. In the high-velocity environment of a trade show, your booth serves as your temporary corporate headquarters. An efficient setup ensures that your space remains inviting, professional, and uncluttered, allowing your brand message to take center stage. By focusing on smart spatial planning, high-impact visuals, and a streamlined assembly process, you can transform a modest square into a dynamic marketing hub. This guide explores how to optimize every inch of your display to ensure you capture attention and maximize every lead opportunity.
Planning Your Booth Layout:
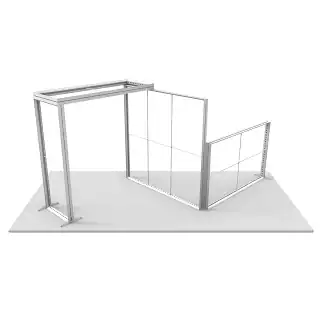
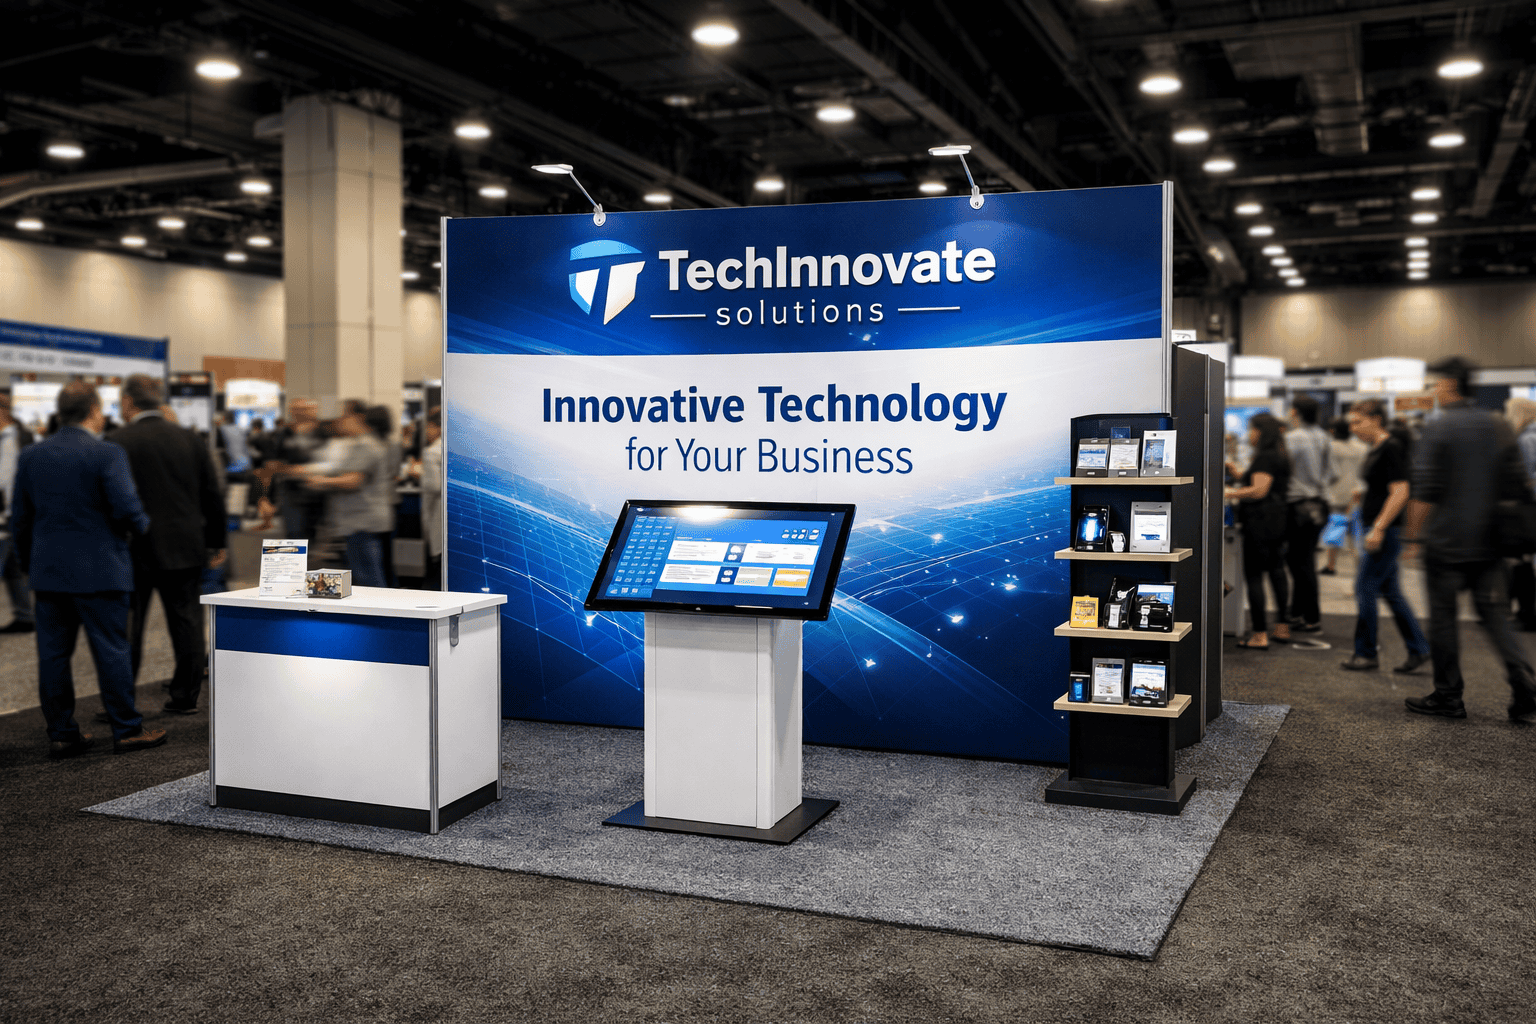
Before the first crate arrives at the venue, a successful exhibit begins on paper. Planning your layout requires a deep understanding of traffic patterns. In a 10×10 space, the “rule of thirds” is often applied: use the back third for your main branding and storage, the middle for engagement and demos, and keep the front third completely open to welcome attendees.
Avoid “walling off” your booth with a long table at the very front; this creates a physical and psychological barrier. Instead, place smaller counters or kiosks to the side to create an open, walk-in environment. Consider the “line of sight”—your most important message should be at eye level (roughly 5 to 6 feet high) and unobstructed by furniture or equipment.
Step-by-Step Setup Process:
A systematic approach to your 10×10 booth display setup saves time and reduces stress on opening morning. Follow this general workflow:
- Floor First: Lay down your flooring or carpet padding immediately. This defines your territory and protects your equipment from the concrete.
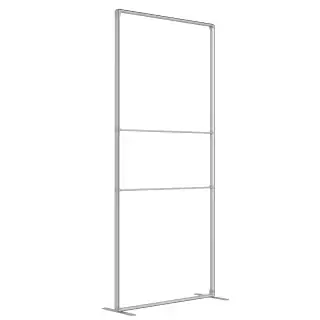
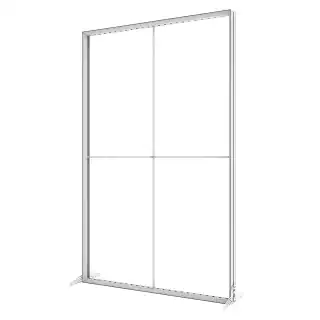
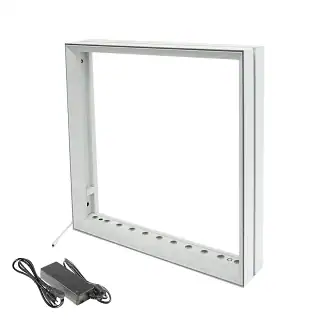
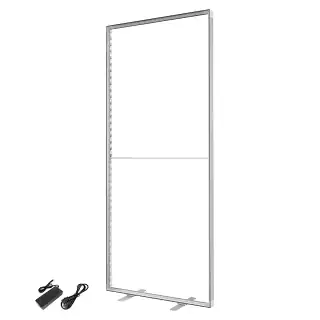
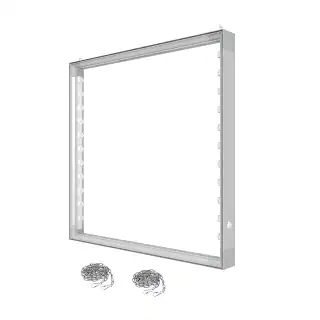
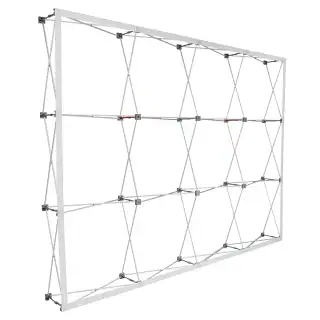
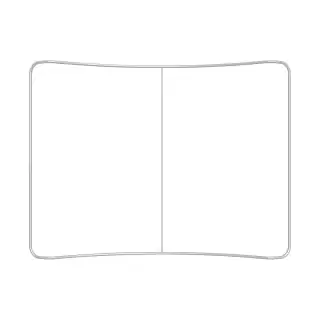
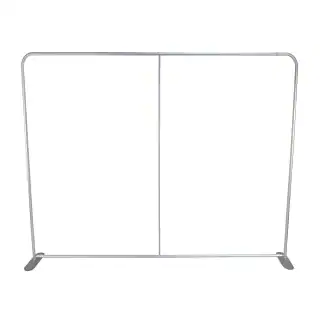
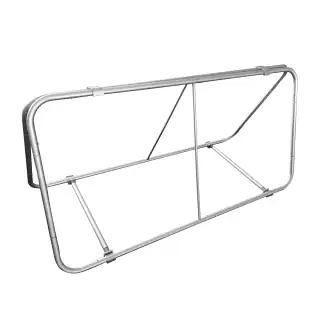
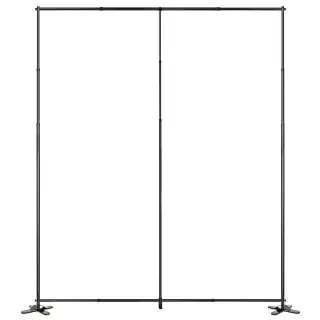
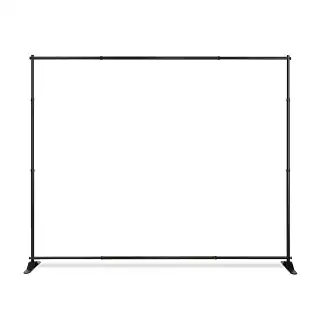
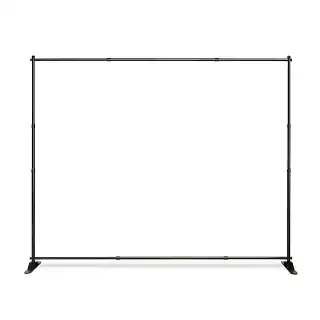
- Frame Assembly: Assemble your backwall frame. If using a modular aluminum system, start from the center and work outward.
- Lighting & Power: Attach your lights to the top of the frame and run power cables down the back before you attach the graphics. This hides unsightly wires.
- Graphic Application: Carefully attach your fabric or panel graphics. Start from the top corners to ensure a wrinkle-free fit.
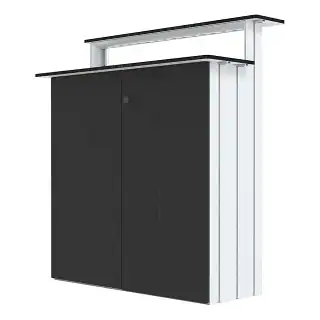
- Furniture & Tech: Bring in your reception counter, stools, and digital screens.
- Final Polish: Clean all surfaces, hide empty packing materials in your designated storage area, and do a “walk-by” test from the aisle to see exactly what a visitor sees.
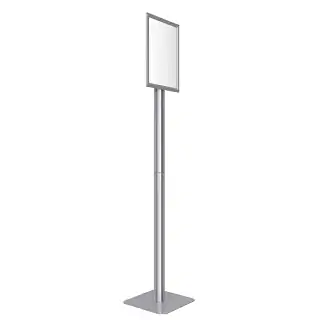
Lighting and Branding Placement:
Lighting is the secret weapon of the trade show industry. Standard hall lighting is often dim and yellow; adding your own LED arm lights or backlit frames makes your colors pop and draws the eye. Focus your brightest lights on your logo and your primary product display.
Branding placement should follow a hierarchy. Your company name/logo should be at the highest point possible for long-range visibility. Mid-level graphics should focus on your “Value Proposition”—the one thing you do better than anyone else. Lower-level graphics can include social media handles or secondary information, though these should be kept minimal to avoid visual clutter at the floor level.
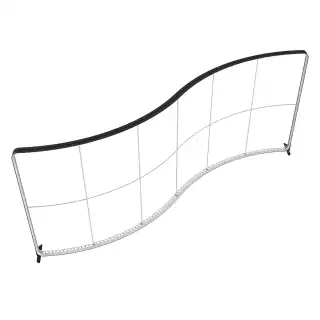
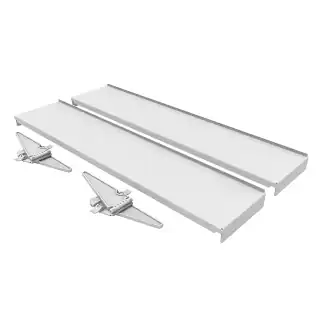
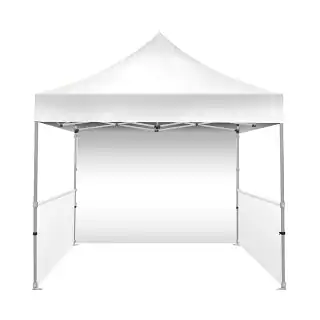
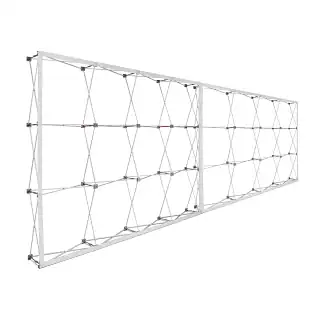
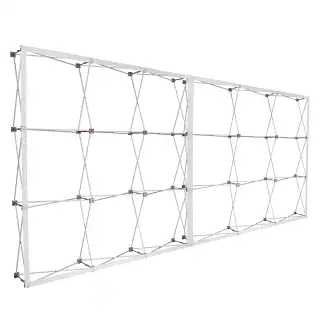
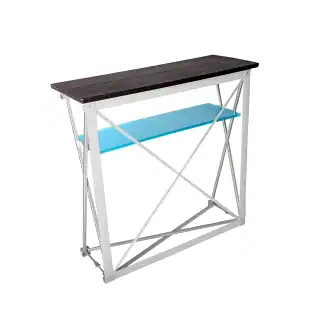
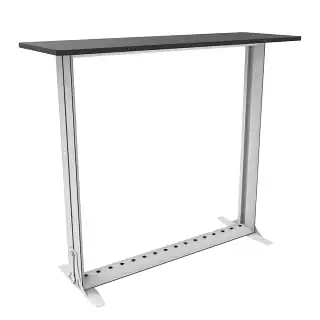
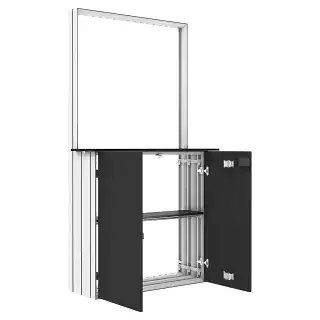
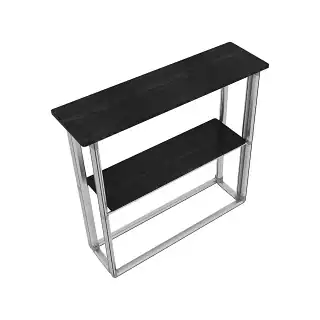
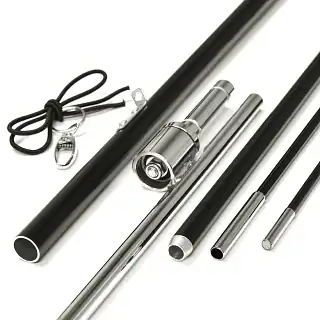
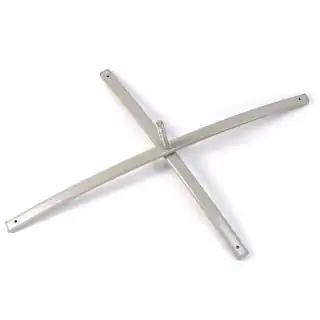
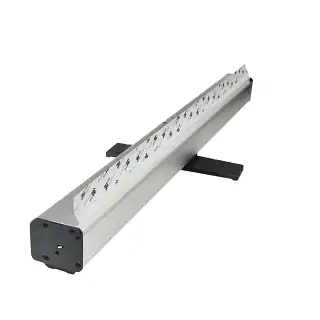
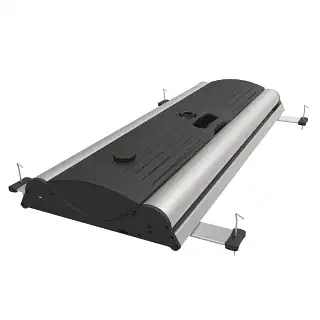
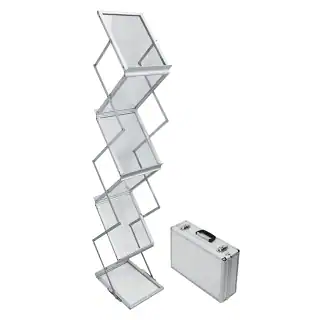
Using Modular Booth Kits:
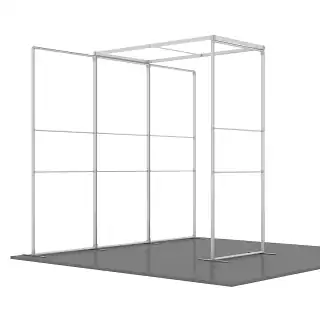
Modular kits are a game-changer for exhibitors who value versatility. These systems are designed to be “Lego-like,” allowing you to rearrange components based on your specific goals for each show. For example, you can add a monitor mount for a tech-heavy show or swap it for a shelving unit when displaying physical products.
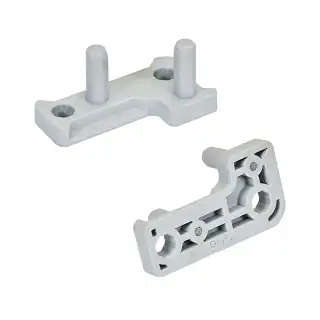
The beauty of modularity is that it grows with you. A high-quality modular frame is an investment that can be expanded into a 10×20 or 20×20 display in the future. Because these kits often use tool-less connectors, they significantly lower your labor costs, as your own team can handle the installation without needing specialized union labor.
Interactive Elements & Engagement:
Engagement is the metric that defines trade show success. To keep visitors in your booth longer, integrate interactive elements that provide value. This could be as simple as a touch-screen catalog or as complex as a VR product simulation.
Small engagement zones, like a high-top table with integrated charging ports, provide a service to the attendee while giving your sales team a natural opening for conversation. Remember that interaction shouldn’t be hidden; place your demo stations near the “aisle-line” to show passersby that there is something active and exciting happening inside your space.
Budgeting & Cost Management:
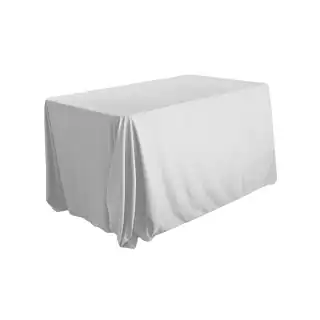
Managing a budget for a 10×10 space requires prioritizing “high-yield” items. Invest heavily in your backwall and lighting, as these are your primary attractors. You can save money on furniture by renting standard pieces from the show decorator, though custom-branded counters often pay for themselves by providing extra branding surface and internal storage.
Always account for “hidden” costs like drayage, electrical hookup fees, and shipping. Choosing a lightweight, portable 10×10 booth display setup can save hundreds of dollars in shipping and material handling fees over the course of a single year, providing a much higher Return on Investment (ROI).
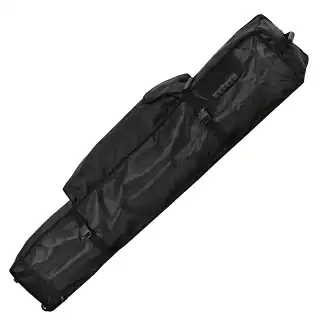
Maintenance and Storage Tips:
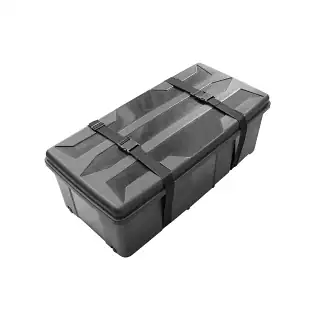
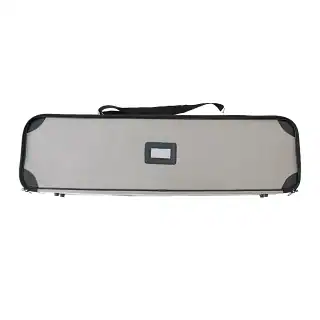
To protect your investment, proper maintenance is crucial. Always wipe down aluminum frames after a show to remove fingerprints and dust. Fabric graphics should be folded loosely or rolled to prevent permanent creasing; if they become soiled, most tension fabrics are machine-washable on a gentle cycle.
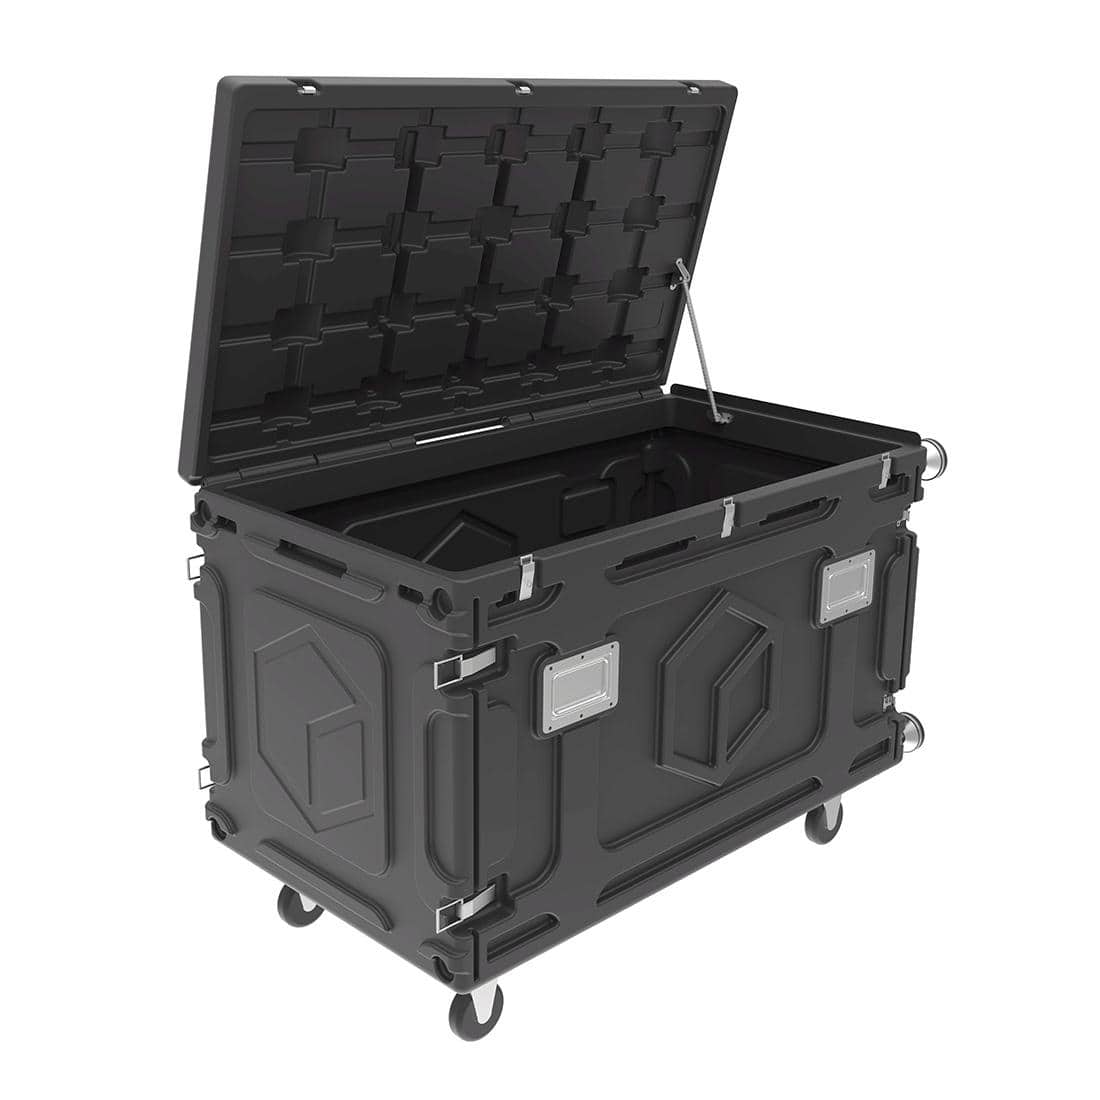
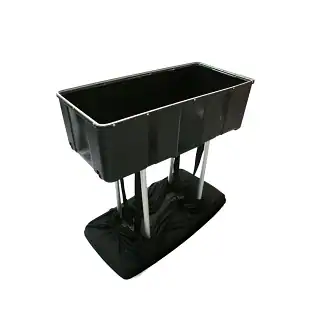
Store your booth in hard-sided, wheeled cases rather than cardboard boxes. Cardboard breaks down quickly and offers zero protection against the rough handling typical of freight shipping. Store your cases in a climate-controlled environment to prevent the fabric graphics from developing a “musty” smell or the frame components from expanding due to humidity.


 5101 Commerce Dr., Baldwin Park, CA 91706
 ExhibitorLive 2026 , Mar 30-April 1, Tampa , FL , Booth #237