


Understanding Standard Trade Show Booth Size:
Selecting the right footprint is the most critical decision in your event planning journey. The standard trade show booth size serves as the foundation upon which your entire brand experience is built. Whether you are a small startup or a global corporation, understanding how dimensions dictate your design, budget, and attendee interaction is paramount. In the North American market, booths are typically measured in 10-foot increments, creating a structured grid on the expo floor. Choosing the appropriate size is not just about having enough room for your products; it is about strategically claiming enough territory to command attention while ensuring a functional, inviting environment for your visitors.
What Is a Standard Trade Show Booth Size?:
Common Dimensions Explained:
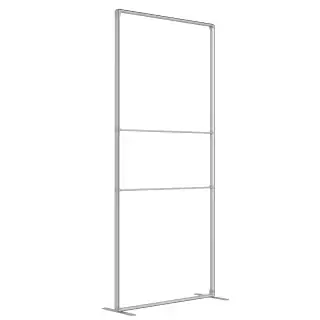
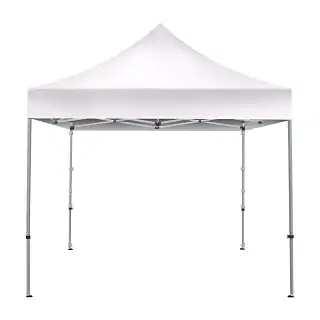
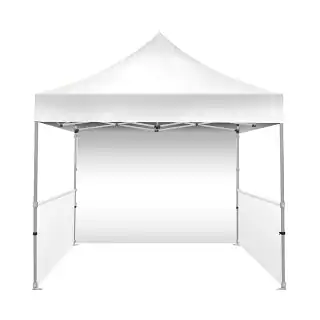
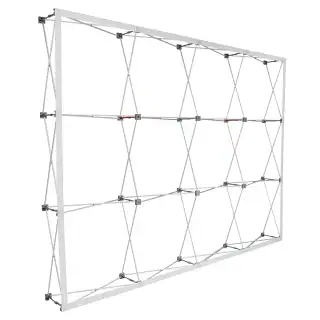
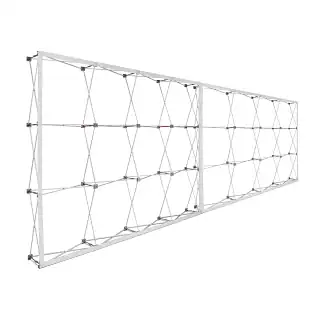
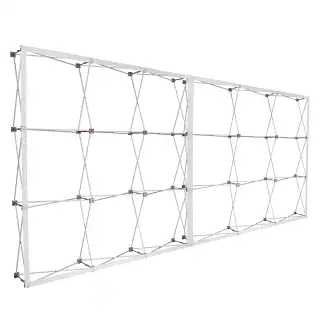
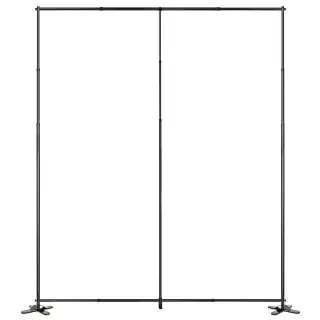
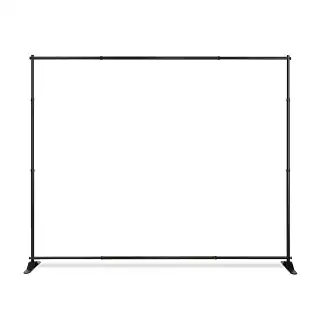
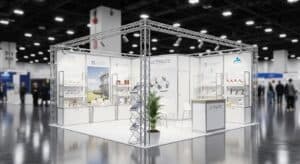
The most ubiquitous starting point is the 10×10 booth, offering 100 square feet of space. For brands needing more presence, the 10×20 (200 sq. ft.) is a popular linear option. Large-scale exhibitors often move into the 20×20 “Island” format, which provides 400 square feet and serves as a significant brand destination.
Inline vs Island Configurations:
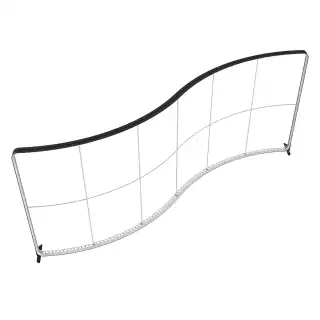
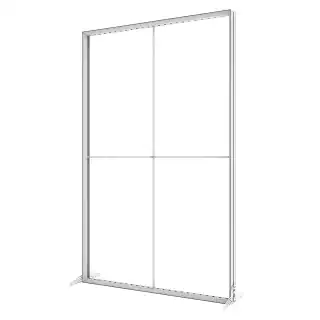
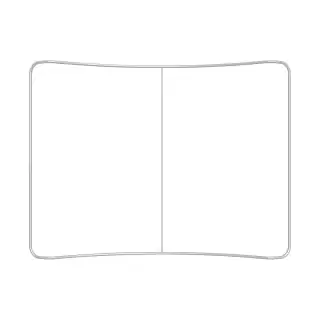
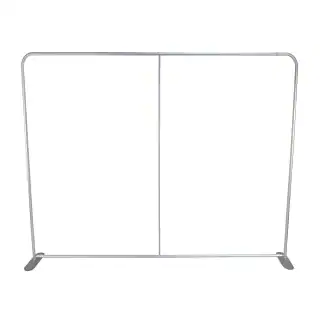
“Inline” or linear booths are arranged in a row with a backwall and neighbors on either side. In contrast, “Island” booths are surrounded by aisles on all four sides. The structural difference is vast: inline booths are restricted by height limits (usually 8 feet), whereas islands often allow for soaring 16-to-20-foot overhead signs.
Why Booth Size Matters for Exhibitors:
Impact on Branding Visibility:
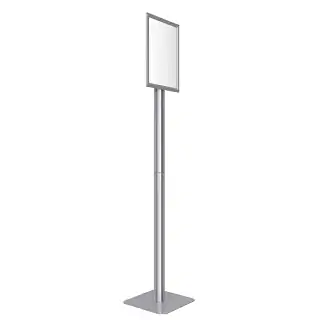
Your footprint directly determines your visual “reach.” A standard trade show booth size like a 10×10 limits you to a single backwall, meaning your branding is primarily visible to those directly in front of you. As you scale to larger sizes, you gain the ability to use “hanging signs” or tall towers. These vertical elements act as beacons, allowing your brand to be seen from the entrance of the hall, long before an attendee reaches your specific aisle.
Influence on Visitor Traffic Flow:
The size of your booth dictates how people move through your brand story. In a small booth, traffic is usually “one-way”—visitors stop at the edge or take one step in. In larger formats, you have the luxury of creating a “journey.” You can direct traffic from a high-energy reception area to a quiet demo zone, ensuring that the visitor flow matches your sales funnel and prevents “bottlenecks” that might turn away potential leads.
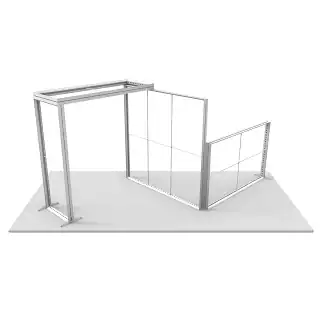
Layout Planning Based on Booth Size:
Small Booth Layout Strategies:
When working with a 10×10, every inch is a premium. The goal is “Compact Optimization.” Use a “perimeter layout” where the backwall holds the graphics and the sides remain open. Avoid placing a large counter at the very front; instead, tuck it into a corner to maximize the available standing room for guests.
Large Booth Layout Approaches:
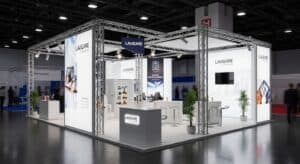
For 20×20 spaces and larger, “Zoning” is the key. Segment the booth into distinct areas: a welcome area for scanning badges, a product theater for live demonstrations, and a semi-private lounge for closing deals. This segmentation ensures that different types of visitors (curious passersby vs. serious buyers) get the experience they need.
Budget Implications of Booth Size:
Space Rental Costs:
Rental fees are typically calculated per square foot. While a 10×10 is the most affordable entry point, show organizers often offer “bulk” discounts for larger footprints. However, remember that the prime locations (corners or near the entrance) often carry a premium surcharge regardless of the physical dimensions.
Build & Design Expenses:
As the standard trade show booth size increases, so do the associated costs for materials, graphics, and labor. A larger booth requires more lighting, more flooring, and a larger team for installation (Drayage). It is essential to balance the “cost of the dirt” (rental) with the “cost of the house” (the booth build) to ensure you don’t have a large, empty-looking space.
Choosing the Right Booth Size:
Based on Marketing Goals:
If your goal is high-volume lead generation, a 10×10 or 10×20 is often sufficient if located in a high-traffic area. However, if your goal is “Brand Authority” or hosting deep-dive technical consultations, you will likely need a larger footprint to accommodate meeting furniture and elaborate product displays that require breathing room.
Based on Event Type:
At a massive international industry expo, a 10×10 might feel invisible amongst the “mega-booths.” Conversely, at a niche, regional show, a 20×20 island might feel overwhelming and disconnected from the community. Match your size to the “vibe” of the event to ensure you feel like an integrated part of the conversation.
Scaling for Future Events:
When to Upgrade:
You should consider upgrading when your current space consistently feels “congested” or when you have more than three staff members working the booth. If attendees are walking past because there is no room to enter, you are losing money, and a larger footprint is justified.
Modular Investment Strategy:
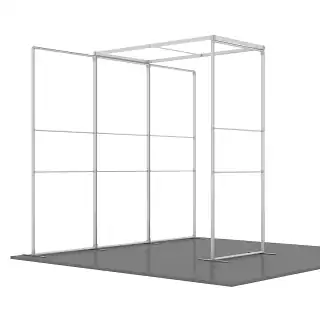
The smartest way to scale is through a modular build. Invest in a high-quality 10×10 frame system that can be expanded with additional sections to become a 10×20 or 20×20. This allows you to grow your presence incrementally without having to scrap your previous hardware investments.
Expert Tips for Booth Size Optimization:
Avoiding Overcrowding
A common mistake is trying to fit a “20×20 personality” into a 10×10 space. Keep your furniture minimal. Use stools instead of bulky chairs and lean toward digital catalogs on tablets rather than stacks of paper brochures to keep the floor clear.
Maximizing Open Space Appeal
Open space is not “wasted” space; it is “inviting” space. An airy booth feels premium and accessible. By keeping 40% of your floor space clear, you make it psychologically easier for an attendee to step off the busy aisle and into your brand’s world, which is the ultimate goal of any standard trade show booth size strategy.


 5101 Commerce Dr., Baldwin Park, CA 91706
 ExhibitorLive 2026 , Mar 30-April 1, Tampa , FL , Booth #237