


Preparing the Wall:
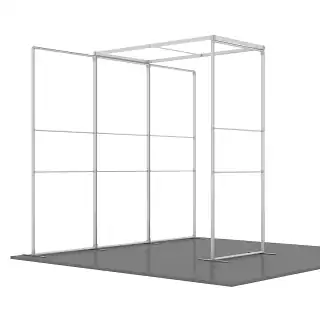
Before unboxing your 7×7 aluminum extrusions, evaluate the surface. A display of this size requires a wall capable of supporting both the frame’s weight and the inward tension of the fabric.
Checking for Level and Flatness:
Aluminum frames are rigid but can “follow” the curve of a bowed wall if over-tightened. Use a long level to check the vertical and horizontal planes. If there are major dips, use shims during installation to keep the frame perfectly square and prevent fabric puckering.
Identifying Substrate and Studs:
- Drywall: Locate the wall studs. While heavy-duty anchors work, securing at least two sides of the frame into studs is highly recommended for safety and tension stability.
- Masonry/Brick: Use a hammer drill and concrete anchors (like Tapcons) to ensure the frame remains stationary under the fabric’s “pull.”
Clearance and Obstructions
Ensure at least 2 inches of clearance on all sides. You need finger room to tuck the silicone keder into the perimeter channel. Also, verify that the 7×7 area doesn’t obstruct thermostats, light switches, or essential outlets.
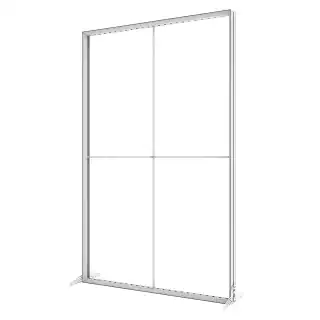
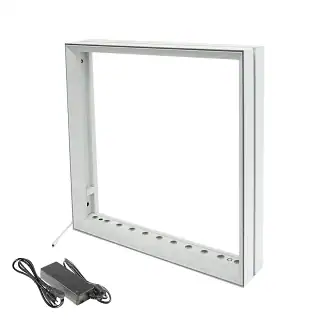
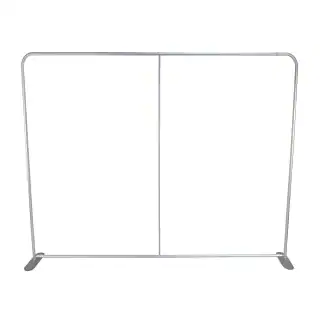
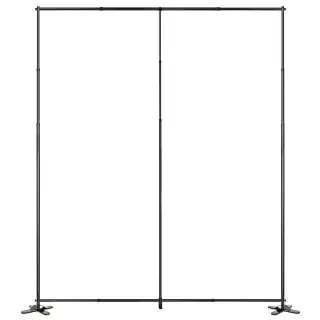
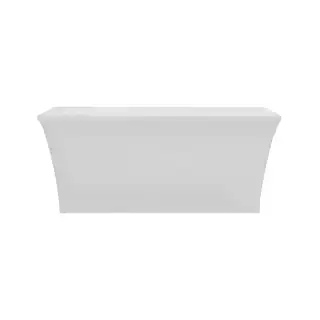
Installing the Frame:
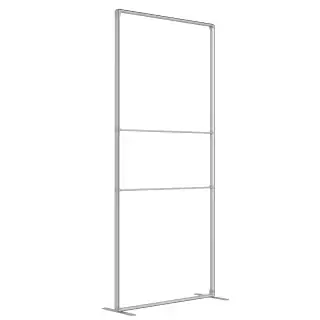
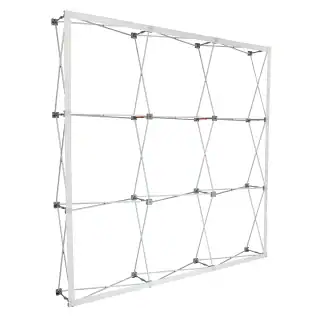
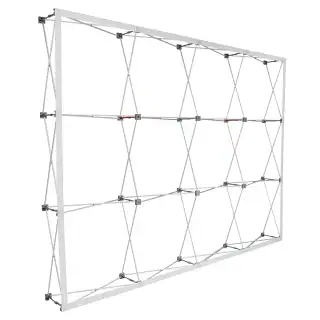
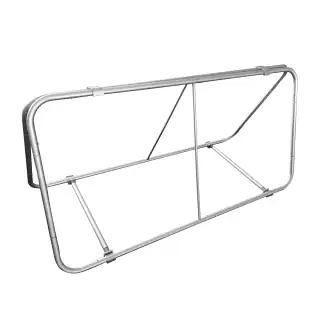
The Impression Panel arrives “knock-down” to save on shipping costs. Assemble it on a clean, flat floor space—ideally 8′×8′—to avoid scratching the finish.
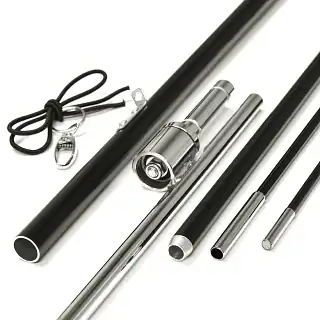
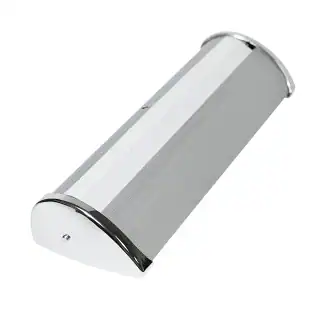
Step 1: Connecting the Extrusions
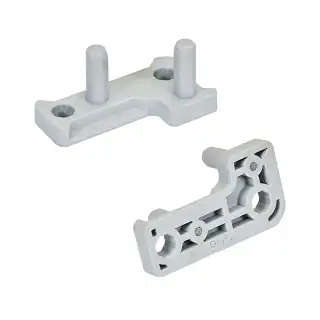
Lay out the four 7-foot bars. Slide the internal L-brackets (corner connectors) into the channels at the bar ends. Tighten the set screws with the Allen key, but only tighten to 90% until all four corners are connected to allow for squareness adjustments.
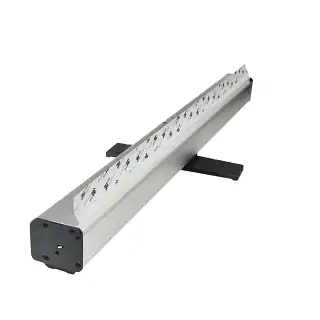
Step 2: Mounting to the Wall
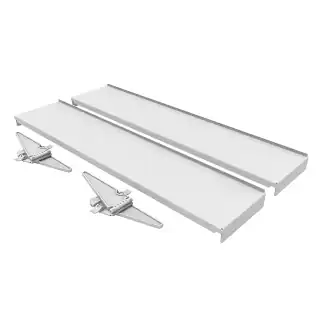
- Z-Clips (Cleats): The gold standard for professional installs. Level and screw the “cleat” bar to the wall; the frame hooks onto it, sitting perfectly flush.
- Direct Mounting: Drill through the recessed channel of the aluminum profile into the wall. Ensure screw heads are flush so they don’t snag the fabric.
Step 3: Squaring the Frame
Once mounted, measure diagonally from corner to corner. Both measurements must be identical. If the frame is “racked” (lopsided), the fabric will show diagonal wrinkles that cannot be pulled out.
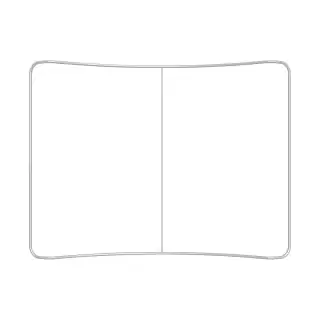
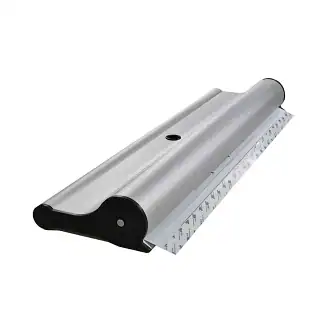
Applying the Graphic: The “Corner-Middle” Technique
Installing 49 square feet of fabric is simple if you avoid going in a circle. Following this specific order ensures even tension:
- Corners First: Push the silicone keder into the top-left corner, then the bottom-right (opposite). Repeat for the other two corners. The fabric will look like a saggy “X.”
- Middles Next: Tuck 6 inches of keder into the center of the top rail, followed by the bottom, then left and right sides.
- The Finish: Work from the centers outward toward the corners. Use your thumb or an SEG rocking tool to press the keder firmly into the channel.
Avoid “The Wave”: Never start at one corner and work around in a circle; this bunches the fabric at the final corner.
Cleaning & Maintenance:
Polyester SEG graphics are resilient, but large panels can act as a “filter” for ambient dust over time.
- Regular Dusting: Use a soft-bristled vacuum attachment once a month to keep colors vibrant.
- Spot Cleaning: Use a damp cloth with mild dish soap. Avoid bleach or harsh chemicals, which can cause dye-sublimated inks to “bleed.” Pat dry; do not scrub, or you may “pill” the fabric.
- Machine Washing: Wash in a cold, gentle cycle with mild detergent. Never use a dryer. Air dry or install the graphic back into the frame while slightly damp—the frame’s tension will “iron” out wrinkles as it dries.
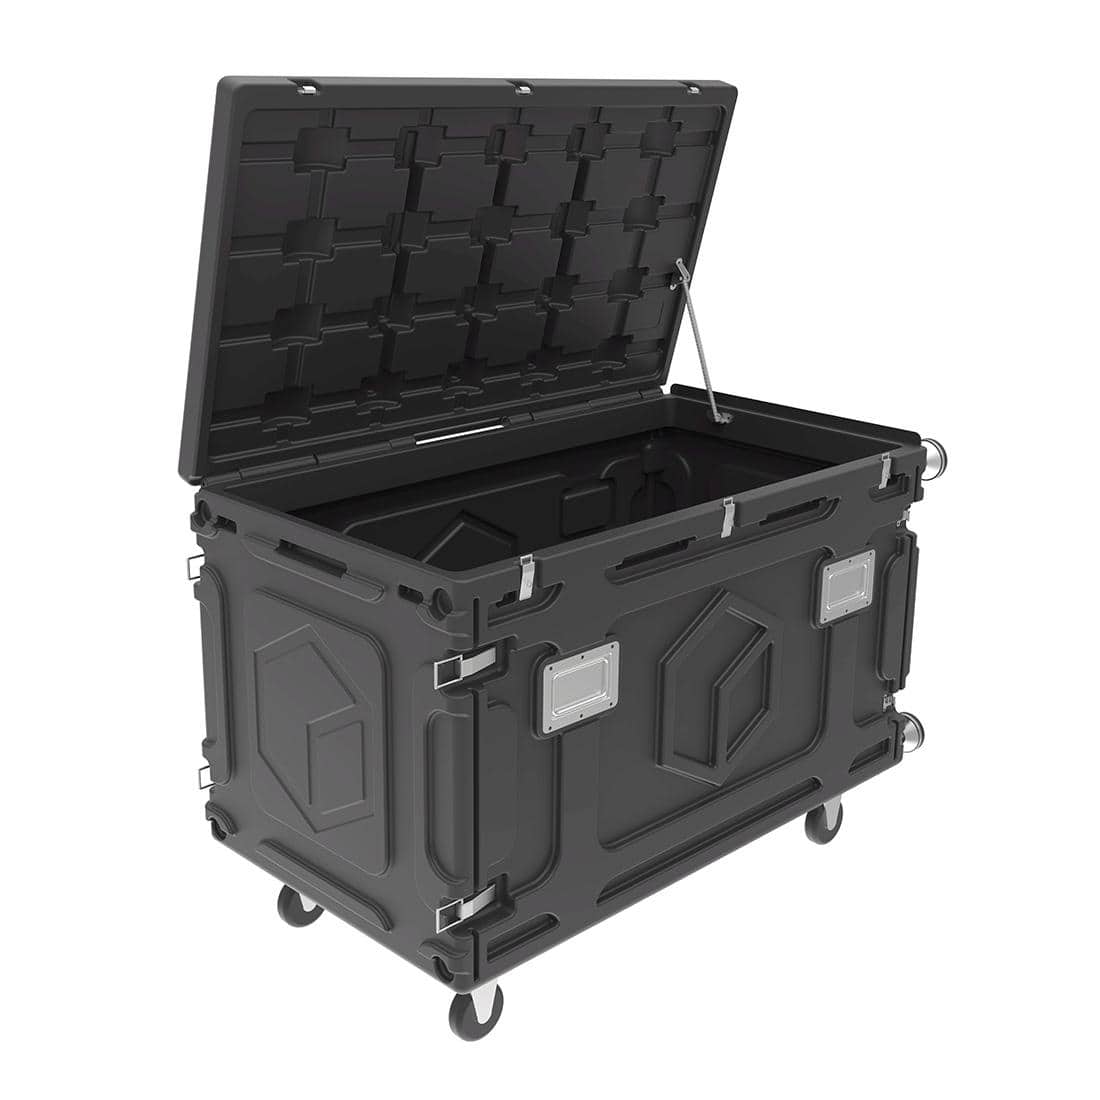
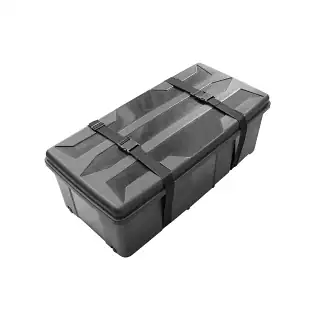
Storage Tips:
Proper storage determines if your graphic lasts one season or five years.
Folding vs. Rolling: While fabric is foldable, rolling the graphic onto a cardboard tube (image facing inward) prevents deep creases. If folding, do so loosely and never place heavy objects on top.
Protect the Keder: The silicone edge can pick up lint or oils. Store graphics in a sealed plastic bag in a climate-controlled area. Extreme heat can make silicone brittle or sticky.
Hardware: If disassembling, wrap bars in foam sleeves to avoid nicks. Store brackets and the Allen key in a bag taped to a bar for the next setup.


 5101 Commerce Dr., Baldwin Park, CA 91706
 ExhibitorLive 2026 , Mar 30-April 1, Tampa , FL , Booth #237